Loading
Loading
Loading
You can use tables to create a clear and visually attractive event program and description. This guide helps you work with tables and offers you inspiration to use tables in other ways.
"The Event Program" could be presented in this way: Visit our showcase page to view the entire setup.
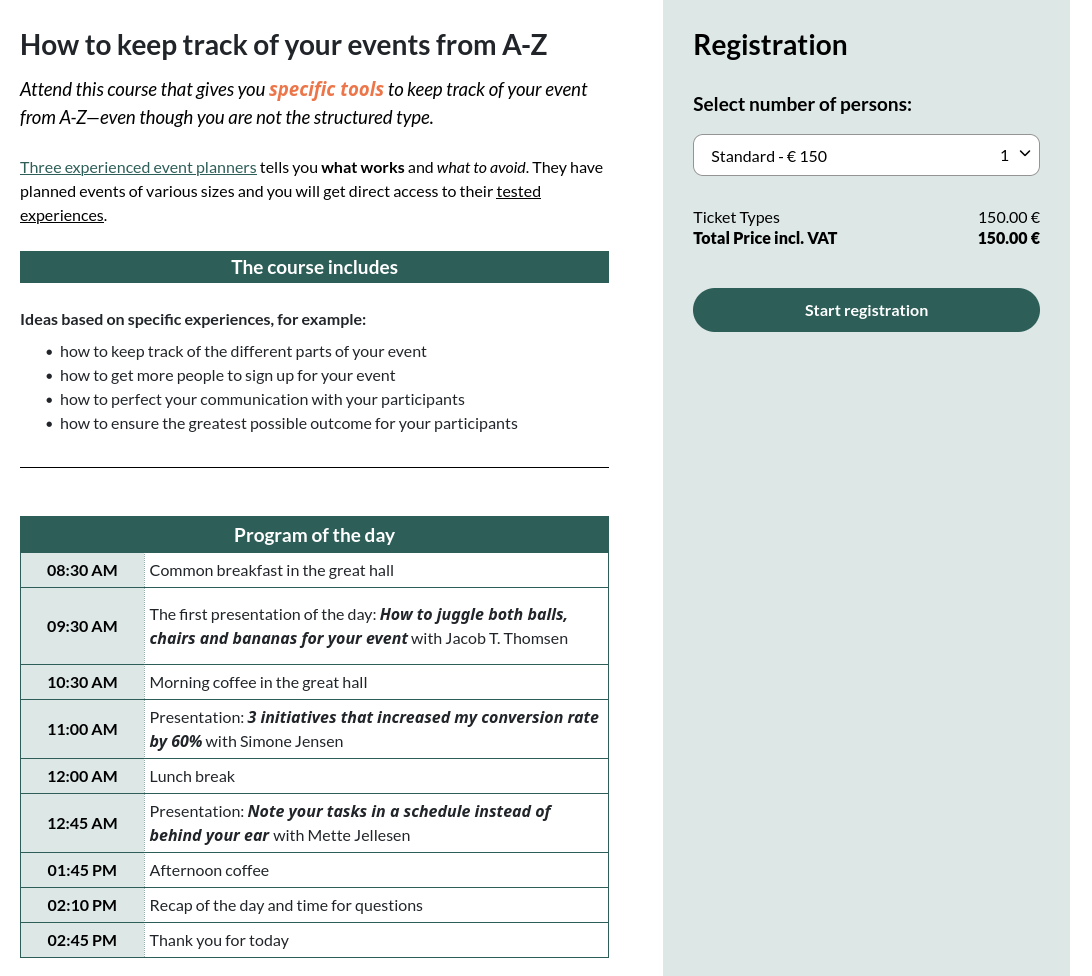
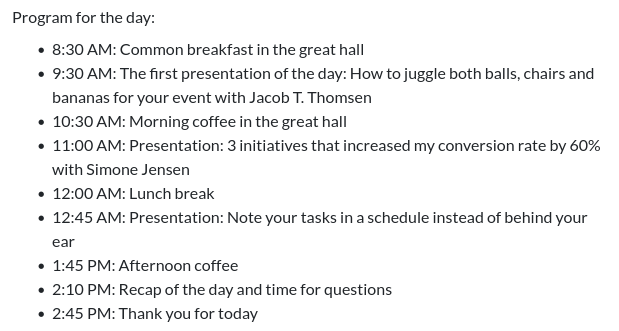
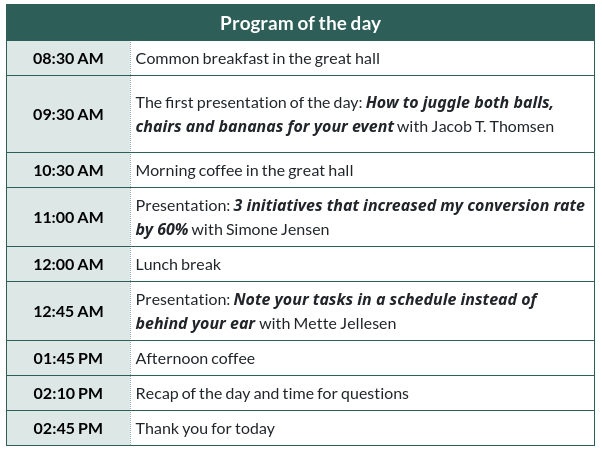
Here follows a step by step guide to make your event program look like the one on the right.
| Without table | With table |
 |
 |
Find the event in the list of events and start editing by clicking the yellow icon with the pencil.

You insert a table by
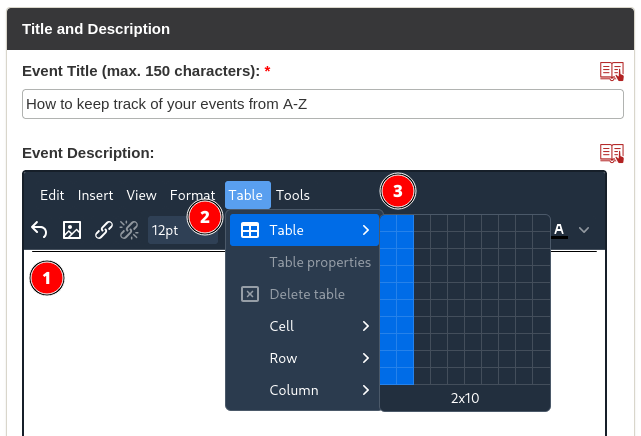
You insert and write text in the different cells.
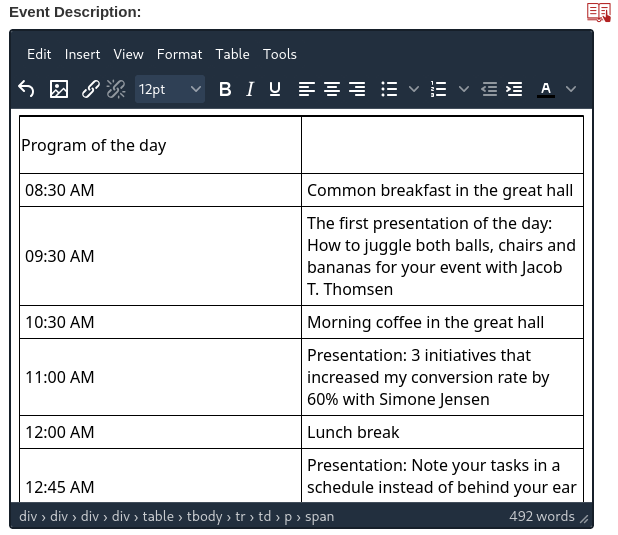
After inserting the text in the different cells, you can start adjusting the look of both the text, the table and the single cells.
Start narrowing the first column by drawing the line between the two columns to the left.
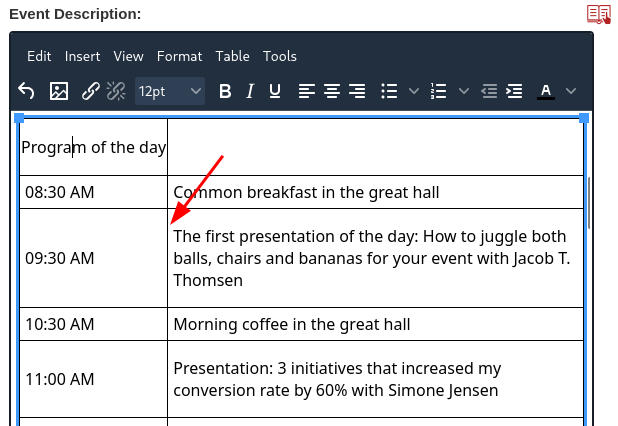
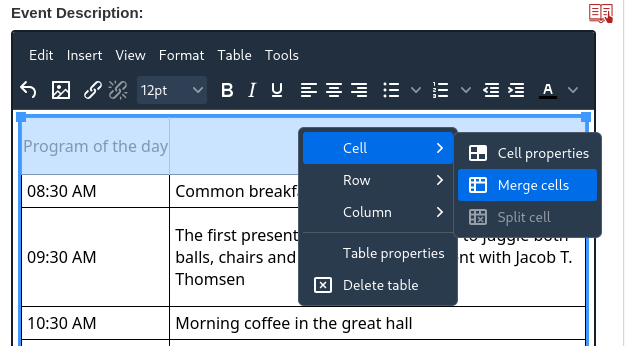
Mark the two cells in the first row to merge the two cells into one cell.
Right-click on the marked cells -> choose Cell -> Merge cells.
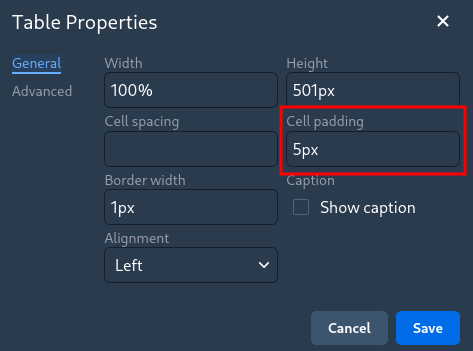
Adjust the text's padding by right-clicking on the tabel -> Table properties -> Enter 5px in Cell padding under General.
Remember to save.
Adjust the placement of the headline in the cell with "Program of the day" by right-clicking the cell -> choose Cell -> Cell proporties.
Under General choose Center under Horizontal align.
Remember to save.
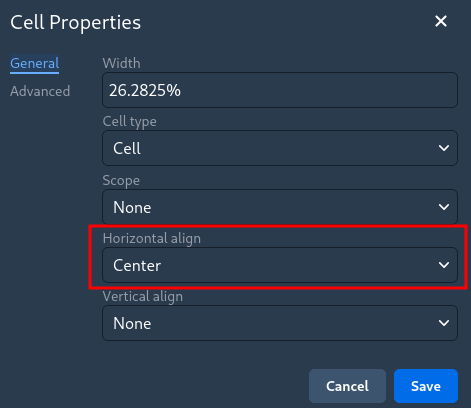
Adjust the background color of the cell with the headline "Program of the day" by right-clicking the cell -> choose Cell -> Cell proporties.
Under Advanced choose a predefined color or enter a color code under Background color. Here the color is #2D5E57.
Remember to save.
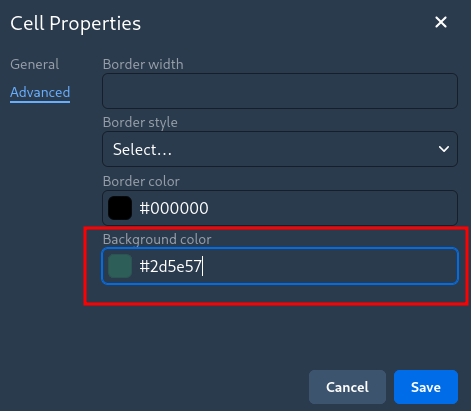
Now it's time to adjust the first column with time.
Mark all text in the cells of the first row and adjust the text under General and choose Center under Horizontal align.
Afterwards, adjust the background color of all cells in the left column by marking all cells and right-clicking -> choose Cell -> Cell proporties.
Under Advanced choose a predefined color or enter a color code under Background color. Here the color is #DCE7E6.
Remember to save.
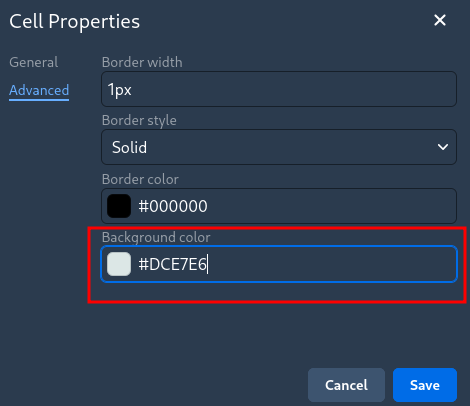
Now you adjust the borders of the edge.
You do this by placing your cursor somewhere in the table and right-click -> choose Table proporties. Choose 1 px under Border width and choose a color under Border color. Here the color is #2D5E57.
Remember to save.
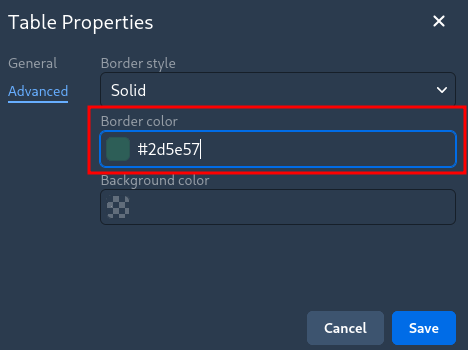
Your table now looks like this and you can start formatting the text by use of the tool bar. You can also insert links and images.
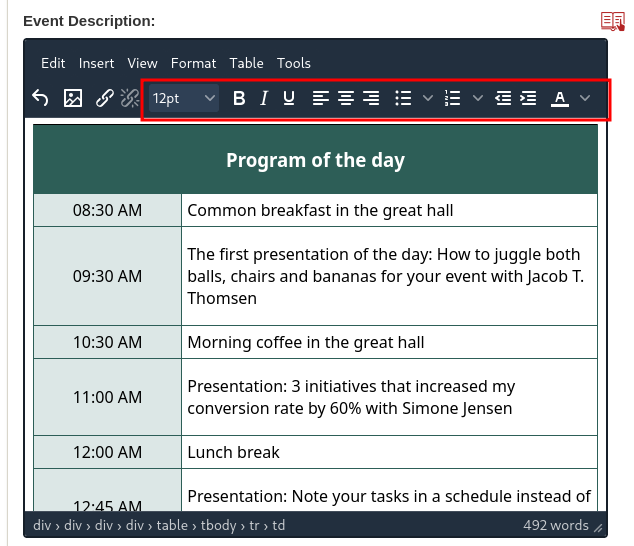
Ultimately, you can present the event program in this way:
Only your imagination and creativity set boundaries to the way you use tables in the event description.
You can insert images in the table:
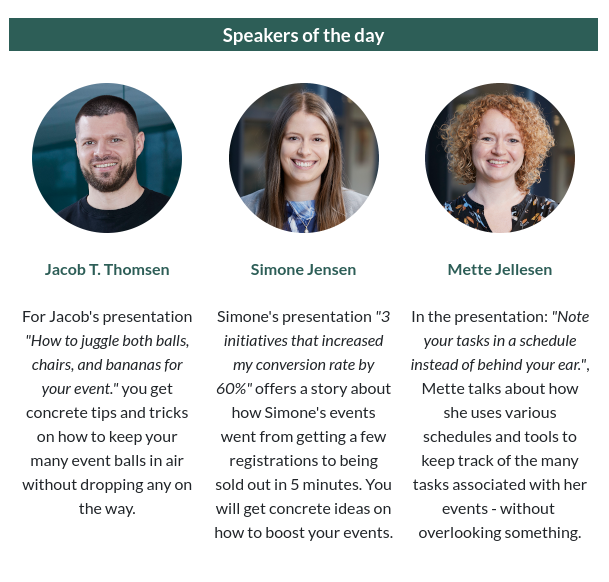
Or you can insert a link to download a PDF file.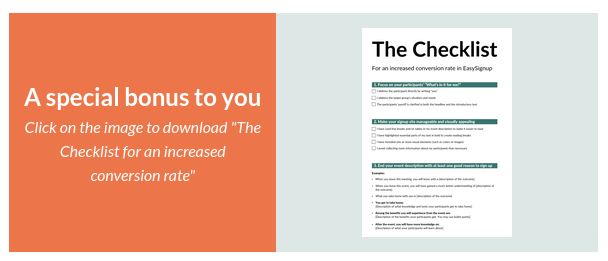
Please notice that the PDF is shown a an image file as you cannot insert a PDF directly into the event description.
If you need assistance to insert images or link to a PDF, you find it here.
We have gathered a list of tips on how how to get more attendees to your events by focusing on your event description. You will find the tips here.
We've made a series of videos showing you how to use EasySignup.
Watch introductory videosWhether you are a participant or an organizer, some of the questions you might have about the IT-system are answered here.
Read the answers
Mette Jellesen and Jacob Thomsen
Support and Communication