 Loading
Loading
Loading
You can create and use dropdown menus, check boxes and date fields when collecting attendee information. You can also use multi-line text fields.
When you add a new custom attendee information field - either when creating or editing an event - it is created as a free text field. However, a dropdown menu, check box or date field may be more suitable in some cases.
See our how-to-video where we explain and show how you use this feature.
Below the video you will find a step-by-step guide with text and pictures.
NOTE: You can't change a dropdown menu, check box or date field back to a free text field once an attendee has used the attendee infomation field.
Once you've created the attendee information field go to Account->Attendee Information Fields to change it to a dropdown menu or check box.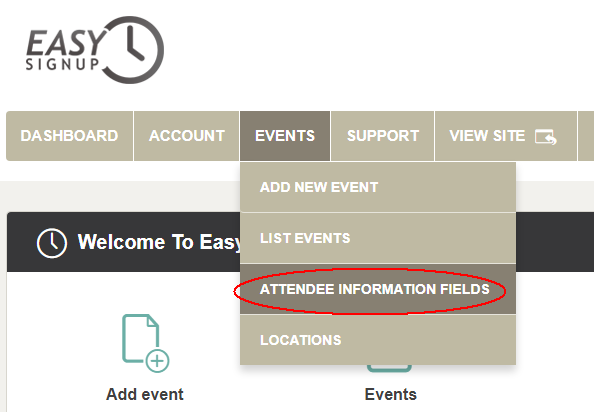
You can also get access from the edit event page. Click the following button in the section "Attendee Information" under the tab "Registration":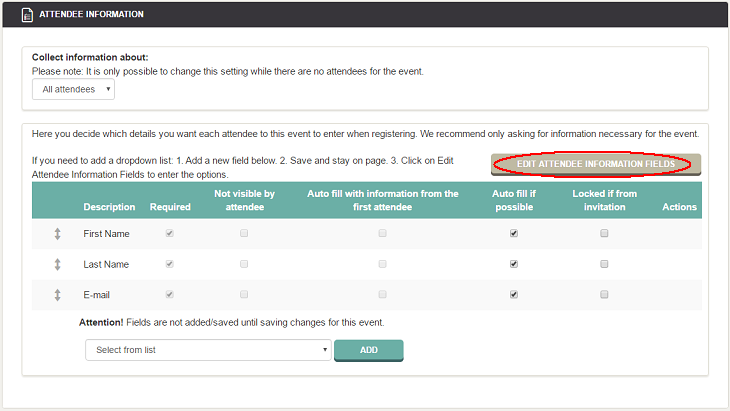
You can now choose which attendee information fields to display.
Click on the edit icon to change the attendee information field.![]()
If you want a check box choose so under "Field Type". You can also choose whether you wish to use the check box for one event only or have the option to use it for other events as well. Click "Save changes" once you're done.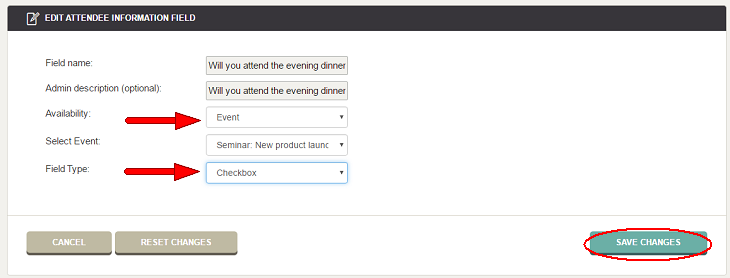
Attendees are now shown a check box when registering.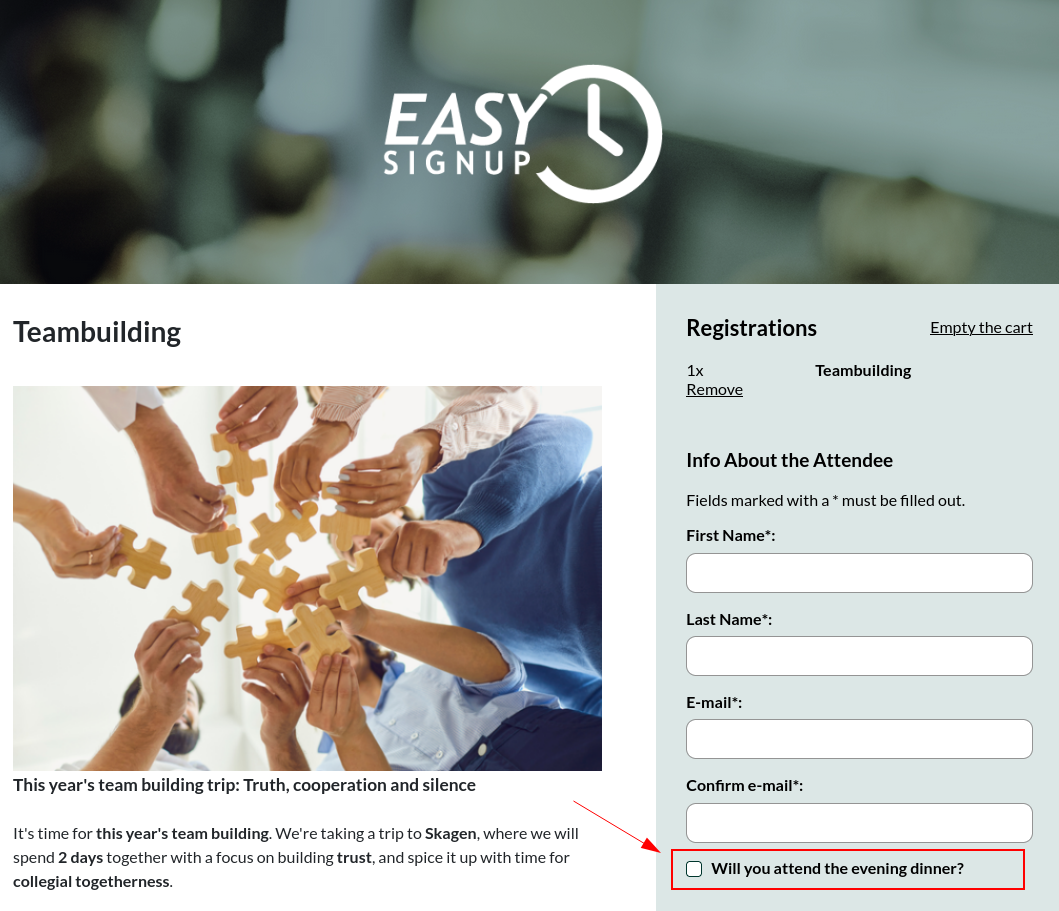
If you want a dropdown menu choose so under "Field Type". Again, choose whether you wish to use the dropdown menu for one event only or have the option to use it for other events as well.
Then you enter the options, which attendees can choose from in the dropdown menu. You can also copy them from a spreadsheet. Then click "Add".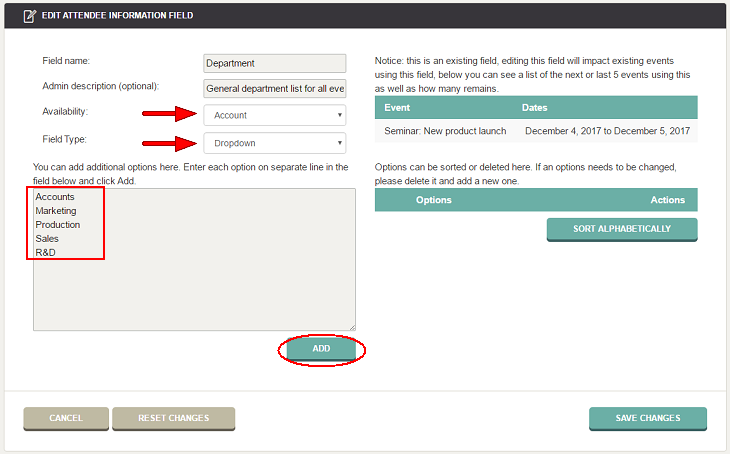
You can sort the list alphabetically. It makes it easier to find the right option when registrering. Click "Save changes" once you're done.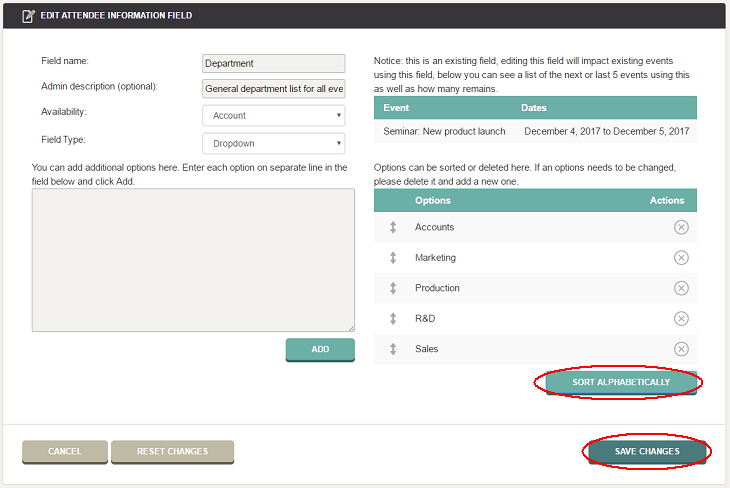
Attendees are now shown a dropdown menu when registering.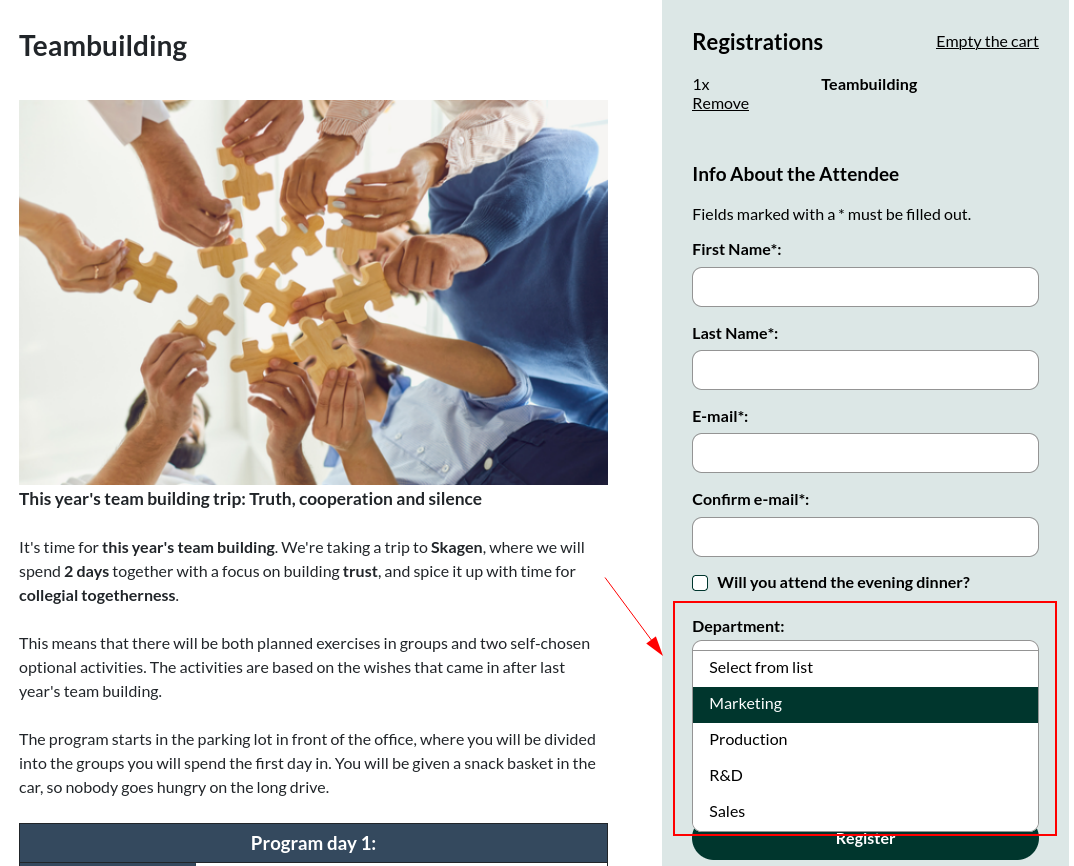
If you want a date field choose so under "Field Type". Again, choose whether you wish to use the date field for one event only or have the option to use it for other events as well.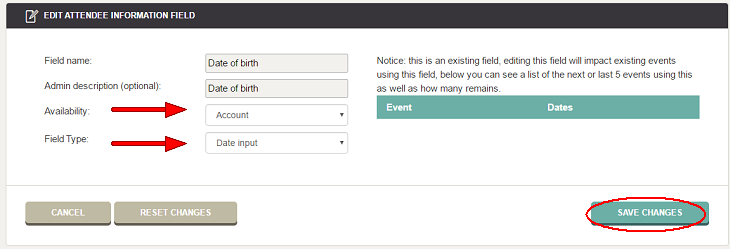
Attendees are now shown a date field when registering.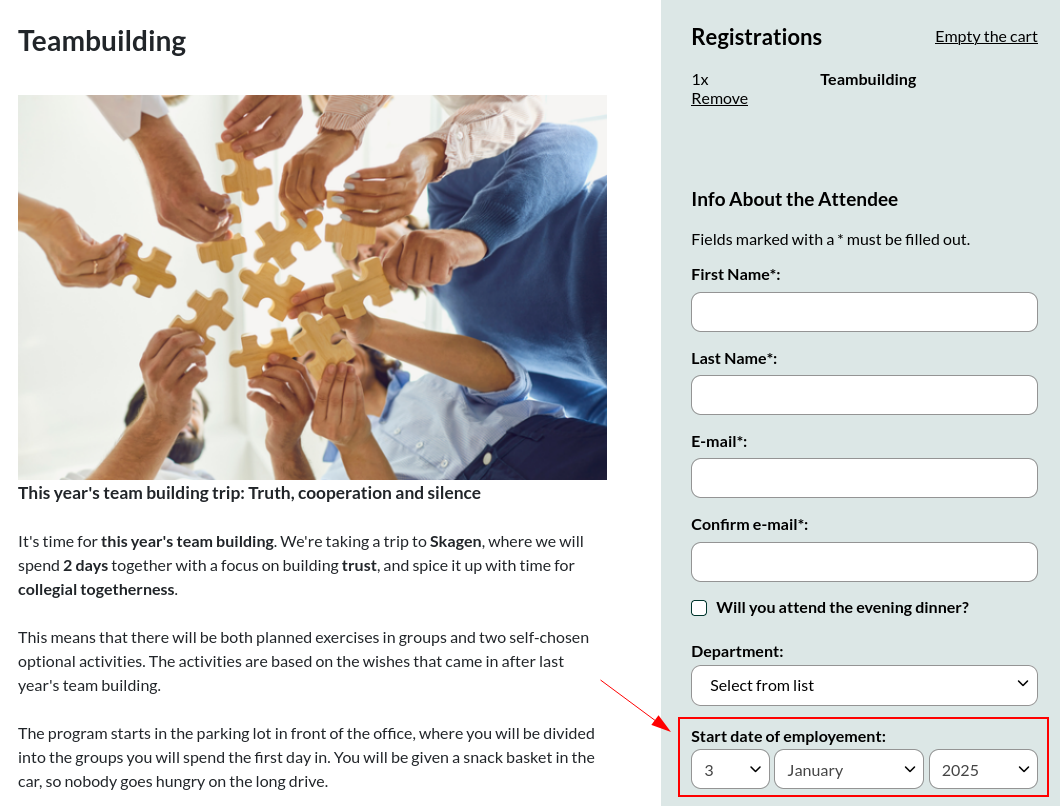
If you want a multi-line text field choose so under "Field Type". It can contain from 800 and up to 50,000 characters. Under "Maximun numbers of characters you can specify how many characters, you want the attendees to be able to write.
You can also choose whether you wish to use it for one event only or have the option to use it for other events as well. Click "Save changes" once you're done.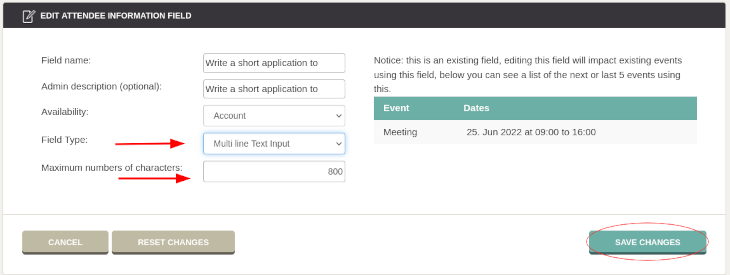
Attendees are now shown a multi-line text field when registering.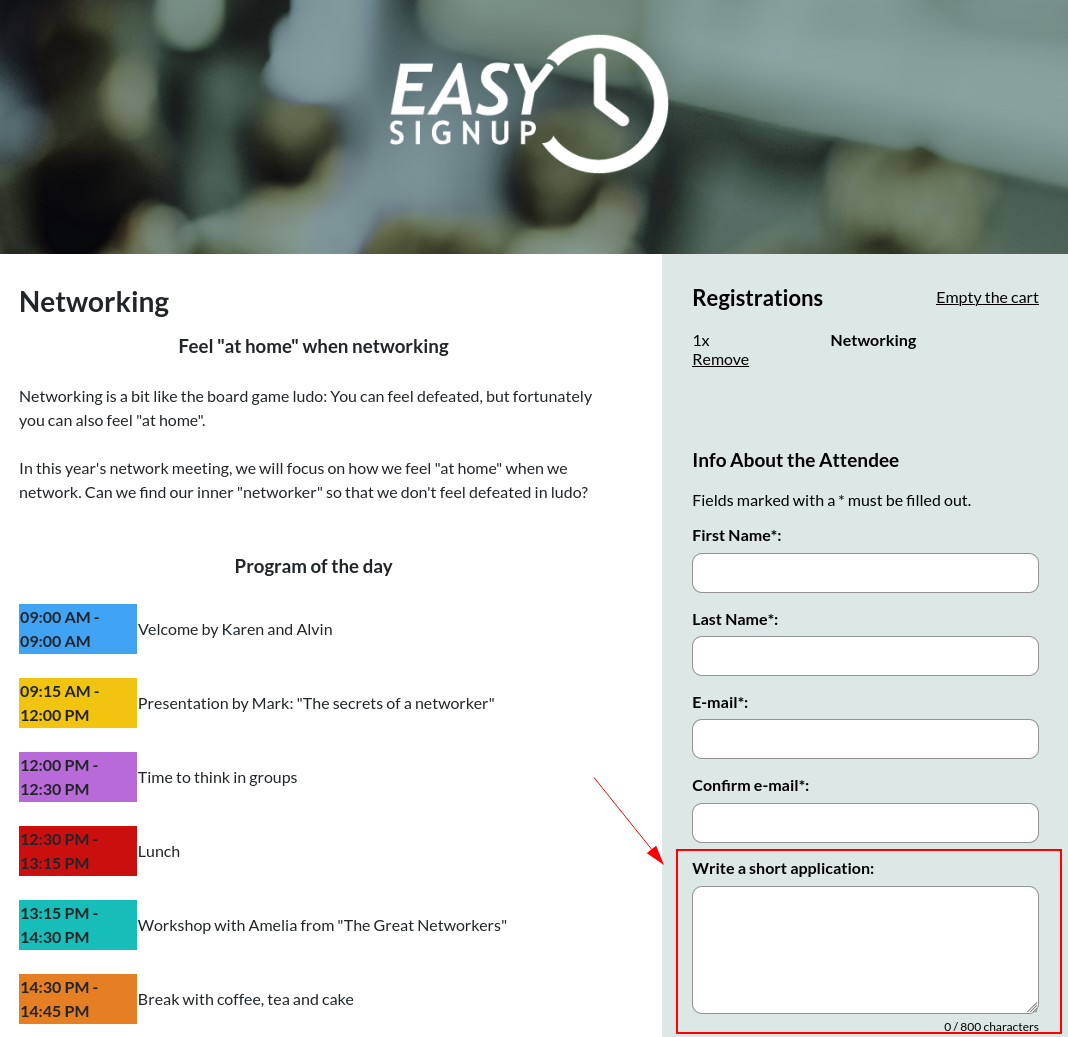
Difference between using a check box or dropdown menu for just a single event or all events
Choosing only to use the attendee information field for a single event means that you can only use the information field for that particular event - not all other events.
Making the information field available for the entire account means that you can use the information field for all your events.
In general, you should only make an information field available for the entire account if it is supposed to be the same for all events, e.g. a department list.
Otherwise, you should only make it available for a single event. In that way you avoid having a long and confusing list of attendee information fields.
If you edit an attendee information field, e.g. options in a dropdown menu, registrations made prior to the change won't be affected. The change will only apply for future registrations.
We've made a series of videos showing you how to use EasySignup.
Watch introductory videosWhether you are a participant or an organizer, some of the questions you might have about the IT-system are answered here.
Read the answers
Mette Jellesen and Jacob Thomsen
Support and Communication