 Loading
Loading
Loading
You can send free e-mail invitations once your event is created. You can customize invitations and view performance of your invitations (e.g., open and conversion rates) etc.
See our how-to-video where we explain and show how you use this feature.
Below the video you will find a step-by-step guide with text and pictures.
Please notice that you have to publish the event before you can send e-mail invitations.
Click on the following icon in the event overview:![]()
You can also send invitations from the event report page: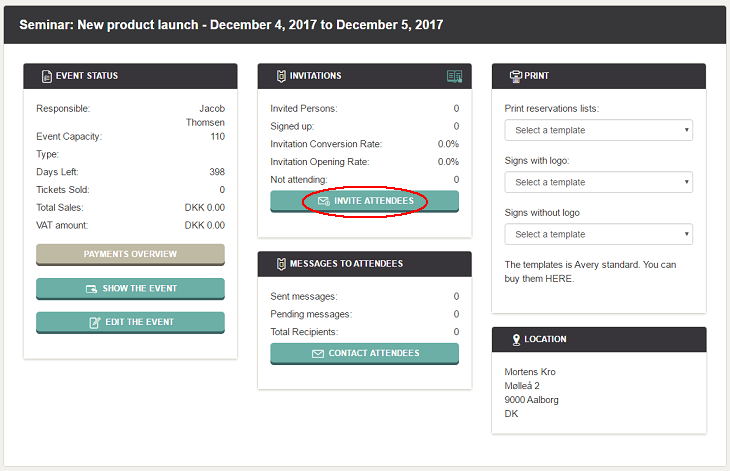
NOTE: You can send one or more round of invitations. Hence, you can send and separate different invitations, e.g. one to "VIP's" and another to "employees"
You can also send an invitation in several loops, e.g. to 100 contacts today and additional 50 contacts next week. You simply add people to an existing invitation instead of creating a new.
You create an invitation with a 5-step wizard elaborated below.
Step 1: Invitation Creation

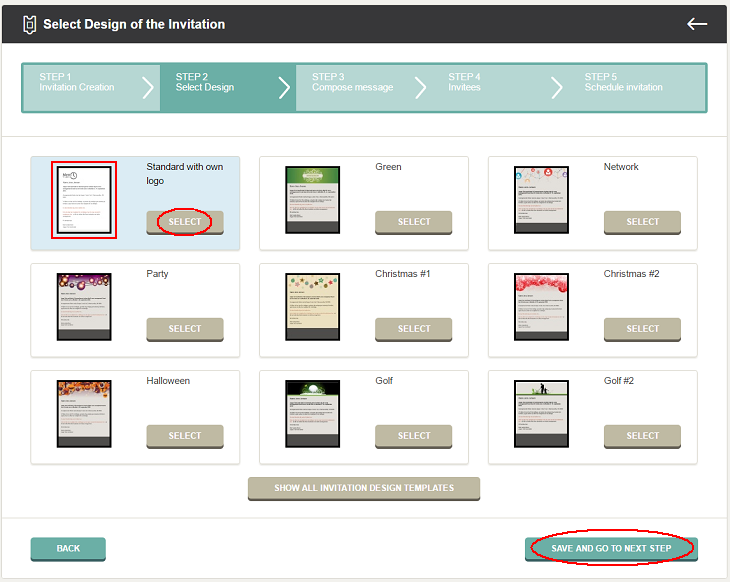
Step 2: Select design of the invitation
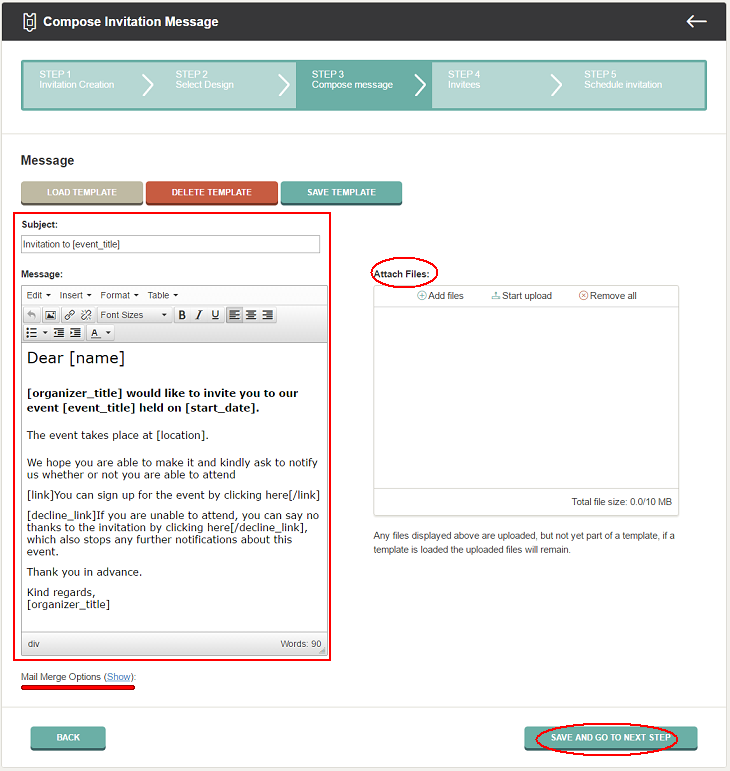
Step 3: Compose Invitation Message
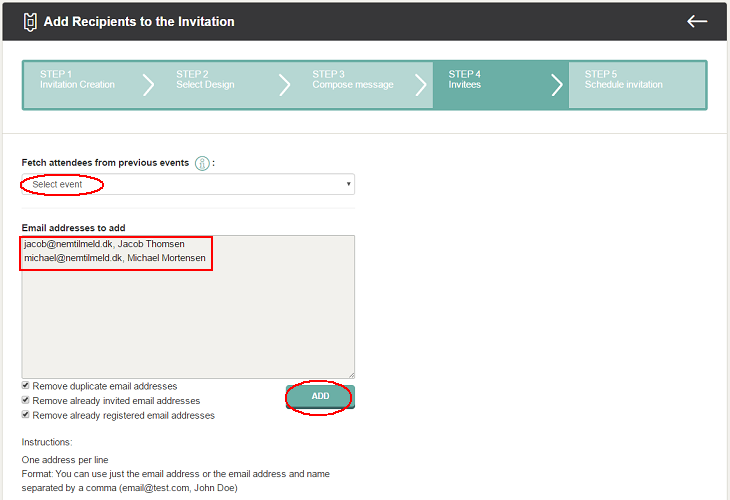
Step 4: Invitees
Now select the persons, whom you want to invite. You can choose attendees from previous events and/or enter e-mails and names yourself.

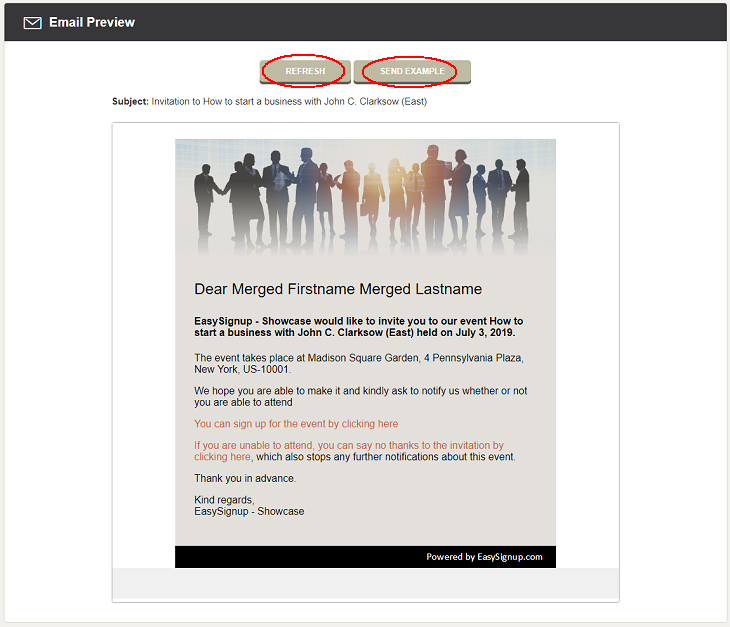
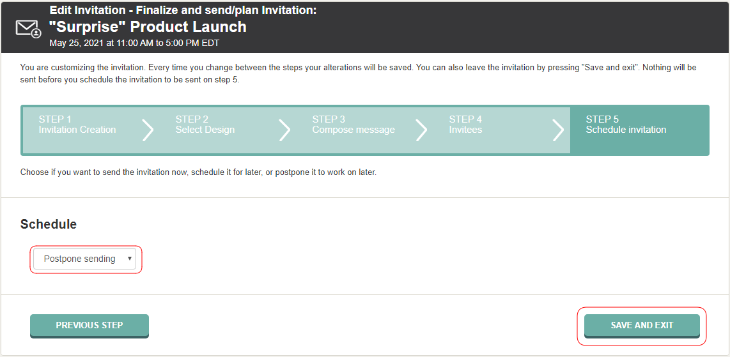
Step 5: Schedule invitation
The invitation is now visible in the list of invitations for the event. Here you can see invitation statistics. You also have different actions buttons, e.g. you can add more people to the invitation.
Here you can also create an new invitation if you need to send an invitation different from the one you've just created.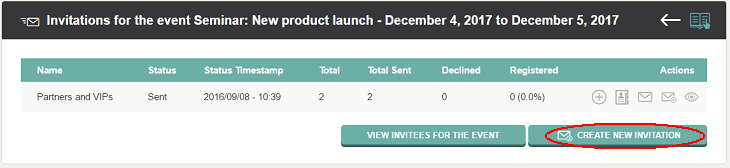
We've made a series of videos showing you how to use EasySignup.
Watch introductory videosWhether you are a participant or an organizer, some of the questions you might have about the IT-system are answered here.
Read the answers
Mette Jellesen and Jacob Thomsen
Support and Communication